Most roofing problems don’t announce themselves. Water gets in at one point, travels along sheathing or framing, and shows up inside the house somewhere else. Ice and water shield can interrupt that path, but only when it is placed correctly, integrated with flashing, and used within product limits.
What Ice and Water Shield Actually Does
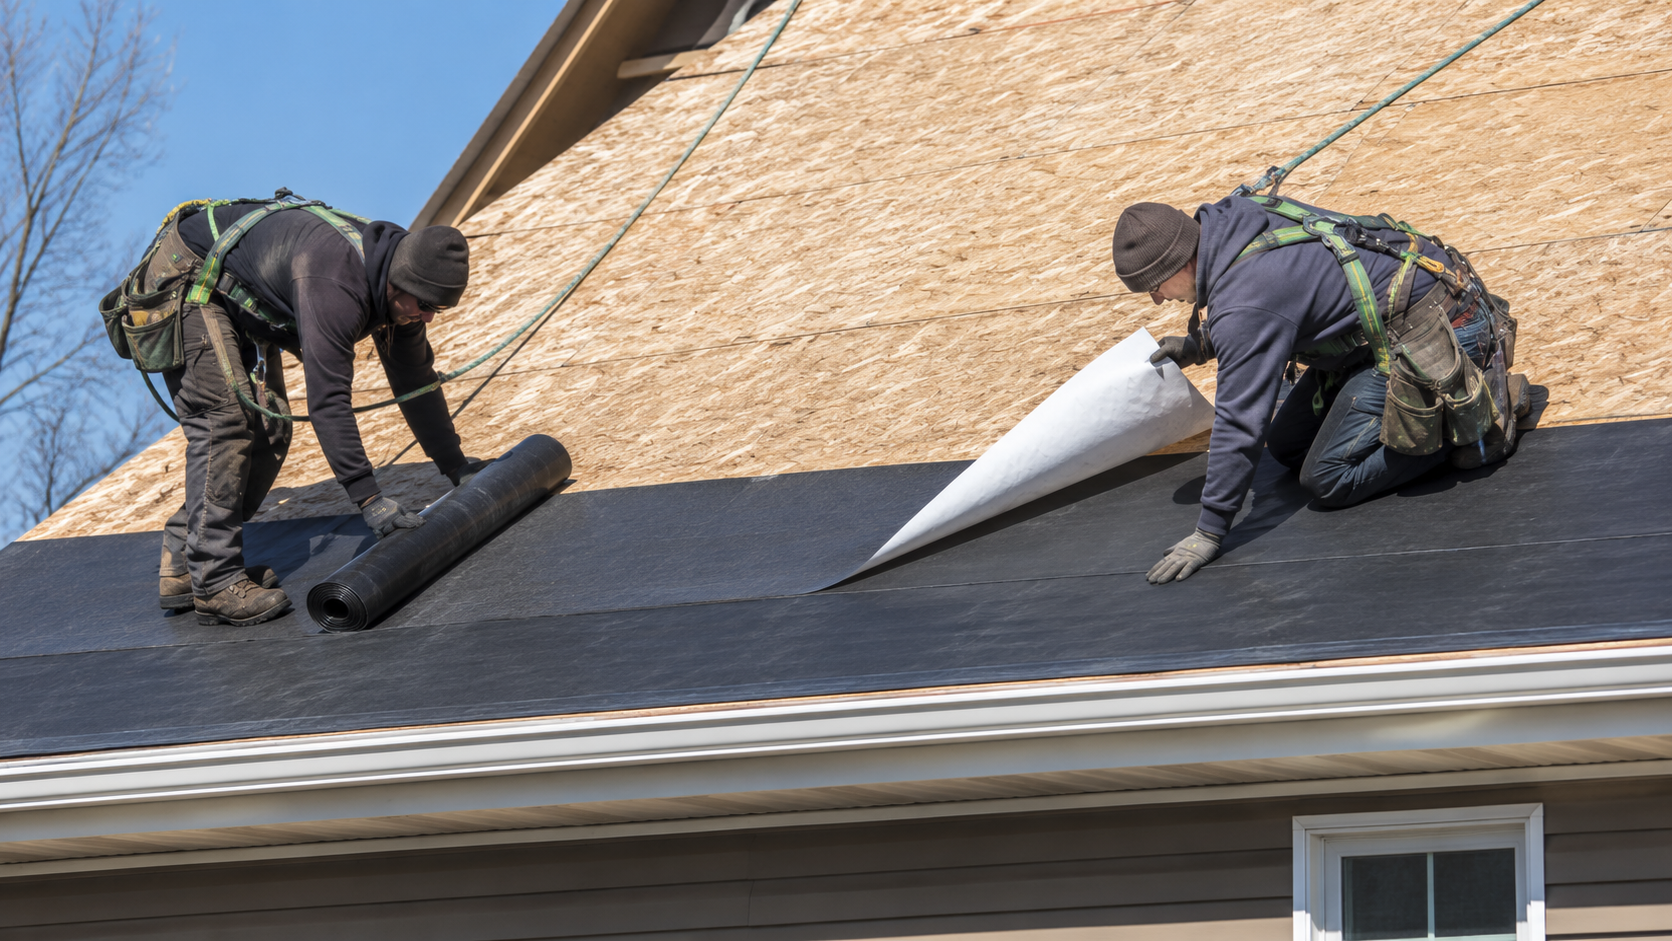
A self-adhered ice-barrier membrane is a secondary water-control layer that bonds directly to the roof deck. ASTM D1970/D1970M covers this class of roofing underlayment and includes performance requirements for adhesion, physical stability, and the capability to seal around nails. That last point matters because roofing fasteners penetrate the membrane before the finished roof ever goes on.
The membrane belongs between the deck and finished roofing where water is more likely to work its way underneath. It provides backup protection at vulnerable locations, but it does not replace flashing or the roof covering itself. Those components still have to manage most of the water at the surface.
What It Won’t Do
The membrane does not stop ice dams from forming. It protects against water that backs up beneath the shingles after an ice dam has already formed. Those are two different problems.
Ice dams develop when heat reaching a snow-covered roof melts snow higher on the slope, and the water runs toward the colder eave and refreezes. Air sealing, adequate insulation, and appropriate roof or attic ventilation help control the heat transfer that contributes to that cycle. The membrane handles the water backup, not the conditions creating it.
Installing a good membrane at the eaves does not correct a warm attic or inadequate insulation. It gives the roof a secondary defense if backed-up water gets beneath the roof covering. Treating that backup protection as the entire ice-dam solution misses the larger building problem.
Where the Membrane Belongs on a Roof
Where ice and water shield goes depends on climate, roof geometry, local code adoption, and the roofing system being installed, with eaves, valleys, chimneys, sidewalls, skylights, and penetrations among the common locations because water tends to concentrate or become harder to manage there.
Why Three Feet May Not Be Enough at the Eaves
When I was building homes in Maryland, putting down roughly the first three feet at the eave was common practice. The material commonly came in 36-inch-wide rolls, so three feet seemed like a natural measurement. I generally used the membrane at the eaves even on jobs where I did not believe the applicable requirement made it mandatory.
The current 2024 IRC measures the requirement differently. Where its ice-barrier provision applies, the membrane must extend from the lowest roof edge to a point at least 24 inches inside the exterior wall line. For roofs with a slope of 8:12 or greater, the 2024 IRC separately states that the ice barrier must be applied at least 36 inches measured along the roof slope from the eave edge.
A wide overhang uses part of the membrane before you even reach the wall. Roof pitch changes the geometry too. Know your overhang, know your pitch, and measure accordingly rather than assuming one 36-inch course gets the job done.
Valleys
Valleys collect water from two roof slopes and concentrate that flow into a relatively narrow path. That makes them one of the places where I want secondary protection directly on the roof deck before the finished valley detail goes on.
Self-adhered membrane provides that backup layer beneath the roofing and flashing at the valley. It still has to be integrated correctly with the specific valley detail being used because the membrane protects the deck if water gets past the finished roofing. It does not replace the surface drainage and flashing details that are supposed to keep water out in the first place.
When Code Requires an Ice Barrier
The 2024 IRC model provision does not require an ice barrier everywhere. It applies in areas designated as having a history of ice forming along eaves and causing water to back up beneath the roof covering. The code that actually governs a particular roof depends on what the local jurisdiction has adopted and any amendments it has made.
Code minimums and construction decisions are not always the same thing. When I was building, I commonly used the membrane at the eaves even when I did not believe a particular project required it. The important point today is to know what the applicable code requires and then decide whether the roof design calls for protection beyond that minimum.
Does the Membrane Go Over or Under the Drip Edge?
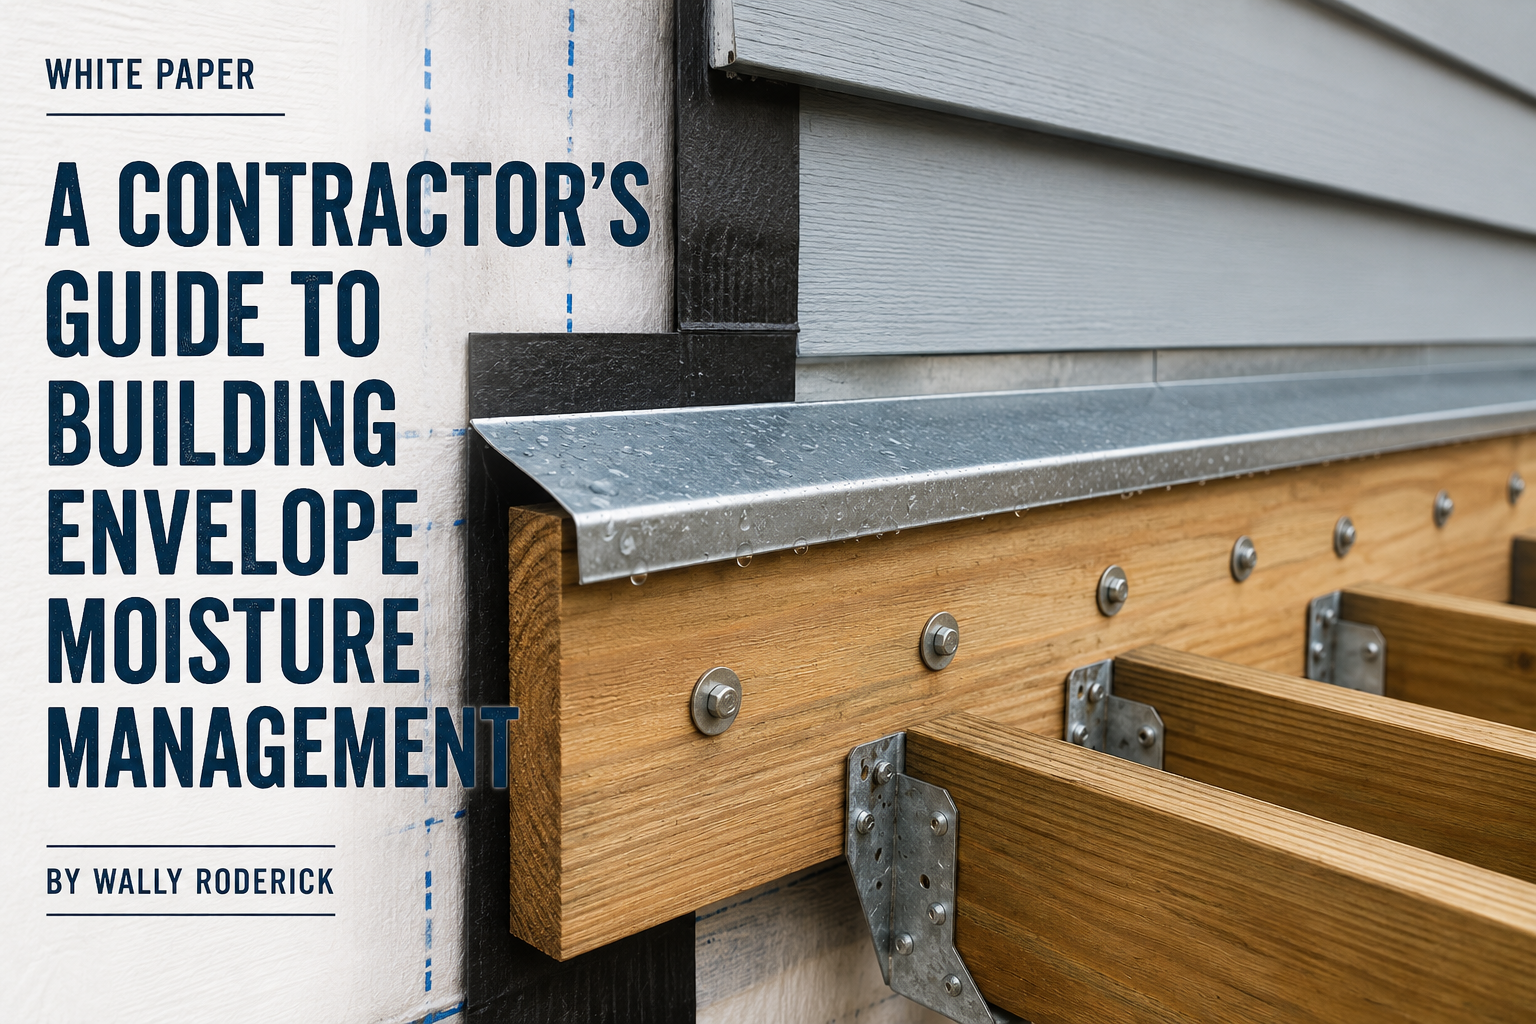
For asphalt-shingle roofs, 2024 IRC Section R905.2.8.5 states that underlayment goes over the drip edge at the eaves and under the drip edge at the rake edges. That arrangement lets water at the eave drain onto the metal edge instead of behind it.
Where this gets complicated is that specific membrane manufacturers can publish details that differ from one another. Before turning one installation sequence into a habit across every job, coordinate the adopted code, roof-covering requirements, and the actual membrane instructions. If those details seem to conflict, resolve the question before the membrane and shingles go down.
Ice and Water Shield vs Synthetic Underlayment
These products commonly work together on the same roof, but they perform different jobs. Self-adhered membrane typically bonds directly to the deck at higher-risk locations, while synthetic underlayment commonly covers the broader roof field.
| Factor | Self-Adhered Ice Barrier | Synthetic Field Underlayment |
| Primary Role | Secondary protection at vulnerable locations | General underlayment across the roof field |
| Attachment | Adheres directly to a suitable roof deck | Commonly mechanically fastened |
| Fastener Sealing | D1970 products are tested for capability to seal around nails | Varies by product |
| Typical Locations | Eaves, valleys, penetrations, flashing areas, sometimes full deck | Broad roof field |
| Vapor Behavior | Often very low permeance; verify the product | Product-specific |
| Temporary Exposure | Manufacturer-specific | Manufacturer-specific |
Self-adhered membrane at vulnerable locations and synthetic underlayment across the field is a common combination. Some projects call for self-adhered membrane over the entire roof deck instead. That can be a legitimate approach, but it changes both the construction sequence and the moisture strategy.
How to Compare Self-Adhered Roofing Membranes
I sold these membranes for more than five years, and I don’t remember recurring problems with the products themselves. When I was buying building materials for the lumberyard, I didn’t start with price. I wanted the spec sheet first.
Then I looked at the reviews I could find, talked with people who had actually used the product when possible, and compared it with the other products we could put on the shelf. Most builders trusted the lumberyard to have already screened what we stocked, so their decision often came down to price. For the builder, price was often first. For me as the purchasing agent, price was last.
That dealer relationship is easy to overlook when discussing building products. The manufacturer first has to convince the dealer or distributor that the product belongs on the shelf. Once that trust is established, many contractors assume a large part of the product vetting has already been done.
When Full-Roof Coverage Makes Sense
Full-deck coverage is not automatically excessive; it can provide broader secondary protection and serve a practical purpose when weather keeps the finished roofing from going on.
Full-Deck Coverage as Temporary Dry-In
I saw builders cover an entire roof with self-adhered membrane because it allowed the project to keep moving when weather delayed the shingles. Keeping rain and snow off the deck and framing meant other work could continue instead of waiting for the roofing crew to get back. That was a practical construction decision, not simply an attempt to add another layer to the roof.
Full-deck dry-in still has to be allowed by the specific product being used. The fact that the roof is staying dry does not remove the manufacturer’s exposure limit. Construction scheduling and product limitations have to work together.
Full Coverage Changes the Moisture Strategy
A self-adhered membrane over the entire roof deck can change how the assembly handles air and vapor. Ventilation, insulation, climate, and the finished roof covering all become part of that decision. Those issues belong within the broader moisture management strategy for the roof assembly.
How Long Can Ice and Water Shield Stay Exposed?
There is no universal exposure limit for self-adhered roofing membranes.
Exposure Limits Vary by Product
Current guidance lists 90 days for standard GRACE ICE & WATER SHIELD® and 120 days for its HT version. Owens Corning WeatherLock® Flex allows 30 days uncovered, while CertainTeed lists up to 120 days for Vycor® Ice & Water Shield® HT. That makes a blanket statement such as “it can stay exposed for six months” unreliable.
This is one place where the product data matters more than jobsite habit. Two membranes that look similar on the roof can have very different published exposure limits. The specific manufacturer’s current instructions should control the decision.
Construction Schedules Don’t Care About Exposure Ratings
Weather delays a roof, another trade needs access, the roofer moves to another project, and suddenly the original schedule is gone. I saw planned exposure stretch because the membrane was keeping the building dry and there was no obvious reason to rush back. A six-month plan can become nine months surprisingly easily once winter and other scheduling problems get involved.
That observation describes construction behavior, not an acceptable exposure period. Once a published limit is approaching or has been exceeded, follow the manufacturer’s guidance, which may call for inspection, repair, or technical review. A dry roof today does not prove that the membrane can remain exposed indefinitely.
Why a Roof Can Still Leak With the Membrane Installed
Flashing and other exposed roof details still have to direct water correctly before the membrane becomes the backup layer, which is why a roof can have good underlayment and still leak when the failure is somewhere else.
Flashing Is Still the First Place I Look
Even when ice and water shield is installed correctly, failed flashing or another poorly detailed roof transition can still allow water into the assembly. In my experience tracing roof leaks, poor flashing was the most common culprit I encountered, particularly at sidewalls and chimneys. The membrane can provide backup beneath those areas, but it cannot make bad flashing correct.
Flashing has to move water correctly at the surface. That is the first line of defense. The membrane is there if water gets past it.
Follow the Water Upstream
The interior stain is where the water showed up, not necessarily where it entered. Water can enter farther up the roof, travel along sheathing or framing, and appear inside several feet away. That is why finding wet drywall is only the beginning of the diagnosis.
When I was looking for a roof leak, flashing was one of the first things I checked. From there, I worked uphill and looked at the likely path the water could have taken. Blaming whatever material happens to be directly above the stain can send you looking in the wrong place.
Small Workmanship Details Matter
Ridge work was another early check. I saw roofers leave nail heads exposed at ridge details without properly sealing them, creating a direct opening for water. The rest of the roof could be installed correctly and one careless fastener could still create the leak.
What to Verify Before the Finished Roofing Goes On
Installing the membrane correctly usually isn’t the hard part. The directions are pretty straightforward. The harder part is making sure every surrounding detail works before the shingles or another roof covering hide the work.
Before the roof covering goes on, verify the following:
- The membrane is approved for the intended roof covering and application.
- The roof deck is sound, clean, dry, and prepared as required.
- Eave coverage reaches the required location rather than stopping automatically at one roll width.
- Valleys, penetrations, chimneys, sidewalls, skylights, and other vulnerable transitions are properly covered.
- Laps have the required overlap and are fully adhered without wrinkles or lifted fishmouth edges.
- Tears, holes, removed-fastener penetrations, and other damaged areas are repaired according to the product instructions.
- The drip-edge sequence matches the applicable code and roof-system requirements.
- Exposure time remains within the manufacturer’s published guidance.
- Full-deck installations account for ventilation and the overall moisture strategy.
- Important details are photographed before the finished roofing conceals them.
The best time to find a missed detail is while you can still see it. Once the roof covering goes on, diagnosing the same mistake becomes slower, harder, and usually more expensive.
Build Better Technical Content With RoderickContent
Building-product content works better when the writer understands what happens after the product reaches the jobsite. I help manufacturers and agencies create technical articles, product education, and contractor-facing content grounded in real construction experience. Reach out at walt@roderickcontent.com.