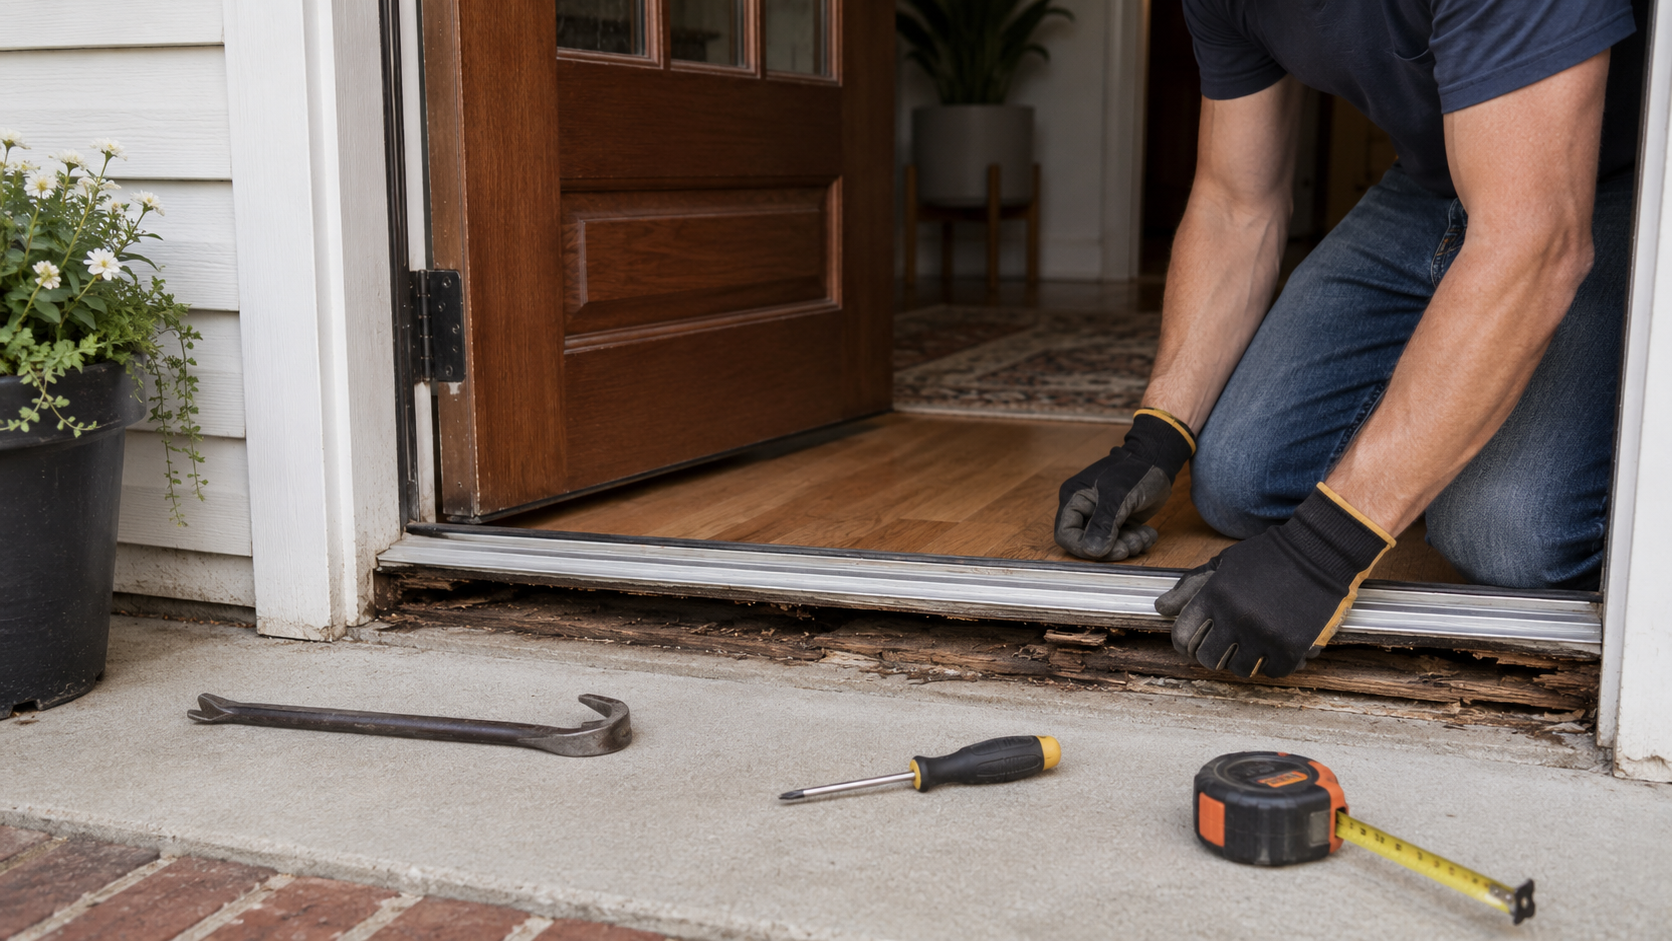
A worn threshold can let in water, daylight, insects, and enough outside air to make the floor near the door uncomfortable. Replace the wrong part or set a new sill over damaged wood, and the problem will come back. This guide covers door threshold replacement from the first inspection through the final adjustment so you can identify what failed, buy the right part, and complete the work without hiding a larger problem.
Make Sure the Threshold Is the Problem
A gap under the door does not automatically mean the threshold needs to come out. The same symptoms can come from loose hinges, a sagging door, a worn sweep, or a damaged adjustable cap.
- Check the door reveal. Close the door and look at the gap between the door and the frame along the hinge side, top, and latch side. A wider gap near the top of the latch side usually points to hinge sag rather than a threshold problem.
- Check the hinges. Tighten loose hinge screws before adjusting the sill. If a screw spins without tightening, the hole may be stripped and need repair. Raising the threshold to compensate for a sagging door can make the door drag or keep the latch from lining up.
- Inspect the sweep. Look at the seal attached to the bottom of the door. A cracked, flattened, torn, or missing sweep may be the only failed part.
| What You See | Likely Cause | What to Check First |
|---|---|---|
| Daylight across most of the bottom | Worn sweep or low adjustable cap | Sweep condition and cap adjustment |
| Larger gap near the latch side | Door sag | Top hinge, hinge screws, and door reveal |
| Door drags at one corner | Sagging door or twisted frame | Hinges and jamb alignment |
| Water appears at one or both corners | Failed corner seal or water entering higher up | Jamb-to-sill joints, trim, and exterior drainage |
| Threshold moves when stepped on | Missing or damaged support underneath | Subsill, slab, or subfloor |
| Vinyl strip is split but the sill is solid | Replaceable insert failure | Insert profile and manufacturer |
| Cap screws turn but the cap does not move | Damaged adjusters or trapped debris | Cap assembly and replacement-part availability |
Identify the Part That Failed
Homeowners often use “threshold” for everything beneath the door, but several separate parts may be involved.
- Threshold: Also called the sill in many door systems, this is the main piece across the bottom of the opening. It may be wood, aluminum, composite, or a combination of materials.
- Adjustable cap: The raised section on many modern exterior-door sills. Adjustment screws move it up or down so it meets the door bottom evenly.
- Vinyl insert or gasket: This fits into a channel in some thresholds and may be replaceable without removing the complete sill.
- Door sweep: This attaches to the bottom edge of the door itself. Some sweeps slide into grooves, while others screw to the face or wrap around the bottom.
- Subsill: The supporting material beneath the visible threshold. It may be wood, concrete, or part of a manufactured support system.
- Sill pan: Concealed flashing beneath the door unit that catches incidental water and directs it outside.
- Integrated sill: Some prehung doors use a sill connected to the jambs as part of the factory-built frame.
You do not need to replace the complete threshold when only a compatible sweep, seal, or cap has failed. Look for a manufacturer’s label on the hinge edge, top of the door, frame, or existing sill before ordering parts.
What failed determines how big the job is.
Before Starting a Door Threshold Replacement
This can be a reasonable homeowner project when the sill is removable, the opening is sound, and the replacement matches the existing system. The difficulty rises quickly when the sill is part of the frame or removal exposes damage underneath it.
Follow the replacement manufacturer’s instructions when they specify how the part must be cut, sealed, fastened, supported, or adjusted.
Simple Repair
A simple repair usually involves replacing a removable sweep, seal, insert, or cap while leaving the main sill in place.
Moderate Repair
A moderate repair means removing the old wood or metal threshold and fitting a new one over a sound wood base or concrete slab. You need to measure and cut carefully because there is little room to hide a bad fit once the sill is installed.
Advanced Repair
The work becomes advanced when it involves:
- An integrated sill or complete frame removal
- Concealed water or insect damage
- Loss of structural support
- A badly distorted opening
Once rot, framing damage, or a built-in sill enters the picture, you may not have the doorway closed again by evening. Plan the repair for dry weather because the opening may be difficult to secure once the threshold is removed.
Decide Whether to Remove the Door Slab
You can sometimes replace a threshold with the door still hanging, but removing the slab gives you more room to cut, pry, measure, and fit the replacement. It also protects the sweep while you work.
An exterior door can be heavy and awkward. Have another person help, support the door before pulling hinge pins, and store it where it cannot fall. Check the hinge type before trying to drive out the pins. Some exterior hinges use fixed pins or security screws.
- Leave the door hanging when: It does not block access to the threshold, fasteners, or cutting area.
- Remove the slab when: The sweep hides fasteners, the door limits tool clearance, or the slab could be damaged during demolition.
Basic Tools
- Tape measure
- Pencil
- Combination square
- Utility knife
- Drill and driver bits
- Pry bar
- Hammer
- Oscillating multi-tool
- Jigsaw, circular saw, handsaw, or metal-cutting saw as needed
- Chisel
- Caulk gun
- Putty knife or scraper
- Vacuum
- Safety glasses
- Hearing protection
- Work gloves
Materials That May Be Needed
- Replacement threshold, cap, insert, or sweep
- Manufacturer-specified fasteners
- Exterior sealant compatible with the sill and surface underneath
- Flashing or sill-pan repair materials when accessible
- Manufacturer-approved sill support
- Masonry anchors for concrete installations
- Backer rod for joints too wide for sealant alone
Do not buy everything on the list in advance.
Measure Before You Buy
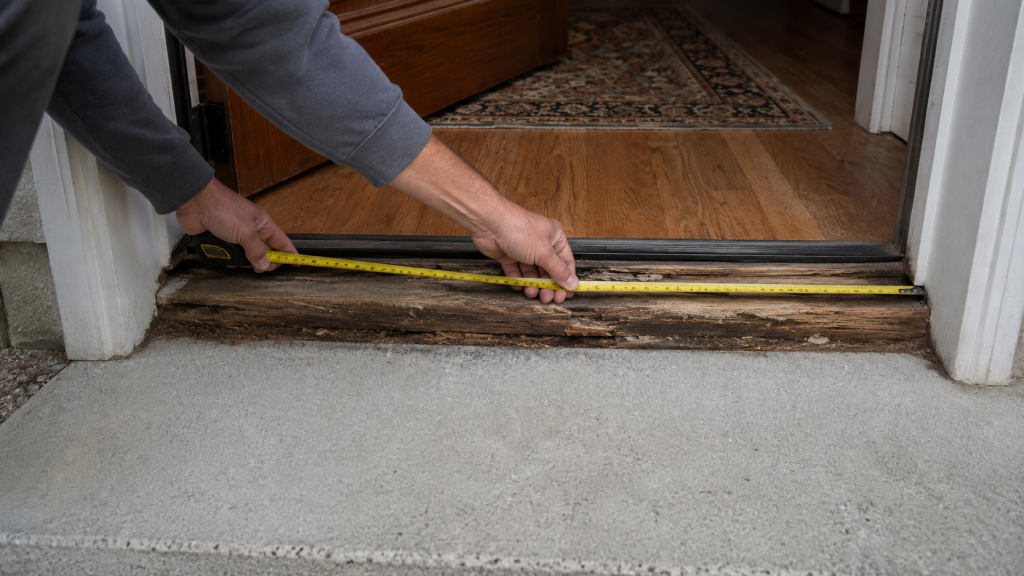
One of the most common door threshold replacement errors is buying a new threshold based only on the visible width between the jambs. Two thresholds can share that measurement and still differ enough in depth, height, end profile, and seal location that one will not work.
Measure the existing threshold before removing it whenever possible.
Record:
- Visible opening width: Measure between the jambs.
- Full sill length: Determine whether the sill stops between the jambs or continues underneath them.
- Overall depth: Measure from the interior edge to the exterior edge.
- Installed height: Measure from the supporting surface to the top of the threshold or adjustable cap.
- Door swing: Confirm whether the door swings inward or outward.
- Door thickness: Measure rather than assume.
- End profile: Note how the sill meets or passes beneath the jambs.
- Interior floor elevation: Record the relationship between the threshold and finished flooring.
- Exterior landing elevation: Check the step down, slope, and support under the outside edge.
- Door-bottom contact: Mark where the sweep or bottom seal meets the sill.
Before You Order:
- Identify the door system when the sill continues beneath the jambs. The visible jamb-to-jamb measurement may not be the full sill length.
- Preserve the old threshold as a pattern if it comes out in usable sections. Even a damaged piece can show the correct end cuts, angles, and profile.
- Confirm the dimensions and profile before cutting the replacement.
Choose a Compatible Replacement Threshold
The new threshold has to fit the opening and work with the door you already have. Then decide whether you want a fixed or adjustable threshold and which material makes sense.
Fixed or Adjustable
A fixed threshold has no movable cap and relies on the installed sill height, threshold shape, and door sweep to form the seal. An adjustable threshold has a cap that can be raised or lowered with screws to make minor changes in sweep contact.
| Fixed Threshold | Adjustable Threshold |
|---|---|
| Fewer moving parts | Allows fine height adjustment |
| Requires accurate sill and sweep fit | Can compensate for small variations |
| Usually needs little adjustment | Screws and cap may corrode, seize, or strip |
| Relies heavily on the correct sweep | Must be adjusted without creating door drag |
| Cannot correct an uneven door bottom | Cannot correct hinge sag or frame movement |
Whenever possible, match the style already used in the door system. Changing from fixed to adjustable, or the other way around, may require a different sweep, sill height, or jamb-end profile.
Wood, Aluminum, or Composite
- Wood: Traditional wood thresholds can be shaped, scribed, sanded, and refinished to fit older or irregular openings. They need protection from repeated wetting and must sit on solid support.
- Aluminum: Aluminum will not rot like wood and is common in modern exterior sill systems, but it can corrode under certain conditions. It can also bend or bow when installed over an uneven surface or pulled down too hard with fasteners.
- Manufactured or composite systems: Many combine aluminum, composite, wood, and replaceable seals. Those parts were made to work together. Mixing pieces from different systems can leave you with a threshold that fits poorly or will not seal.
What Can Increase the Cost?
The threshold may be the cheapest part of the job. The final cost depends on whether you are replacing a seal or cap, fitting a complete sill, or repairing damage underneath it.
- Extra installation materials: A complete stock threshold may also require sealant, fasteners, blades, anchors, flashing, or support materials.
- Custom or system-specific parts: Custom profiles and parts made for one specific door system usually cost more.
- Hidden damage: Rot, damaged jambs, failed framing, or removal of the complete door unit can make the repair much more expensive than the visible threshold suggests.
Decide Whether the Frame Can Stay
| Traditional Removable Threshold | Integrated Manufactured Sill |
|---|---|
| Usually fits between the jambs | Often continues beneath the jamb legs |
| May be cut into sections and removed | May be connected to the factory-built frame |
| Can often be replaced with the jambs in place | Removal may disturb corner seals or jamb alignment |
Look for these clues:
- The sill disappears beneath both jamb legs.
- Screws, staples, or molded connections join the sill to the jambs.
- Factory corner seals connect the sill to the frame.
- The cap is removable, but the main sill body is not.
- Replacement parts are listed by door manufacturer or model.
When the main sill is integrated into the frame and no compatible service part is available, removing the complete door unit may be safer than cutting the sill apart in place.
Remove the Existing Threshold Carefully
- Photograph the existing installation. Take pictures from above, both ends, the interior edge, and the exterior edge before removing screws, trim, caps, or seals.
- Remove the sweep or adjustable cap. Take off any removable piece that hides fasteners and keep reusable parts and screws organized.
- Cut the visible sealant. Run a utility knife along the interior edge, exterior edge, and jamb connections. This reduces the chance of tearing paint, flooring, trim, or flashing.
- Remove the fasteners. Take out every visible screw and check beneath removable inserts or caps for concealed fasteners. If the threshold still will not move, stop pulling. It may be bonded by sealant, trapped beneath the jambs, or connected at the ends.
- Remove the center section when necessary. A common method is to make two cuts near the middle and remove the center first. The remaining ends can then be worked inward away from the jambs. Set the cutting depth carefully so the blade does not reach the subfloor, slab, or concealed sill pan.
- Choose the demolition tool carefully. Use an oscillating tool near finished flooring and jambs because it offers better control. A reciprocating saw is faster but easier to send into material you intended to keep.
Match the Tool to the Material
- Wood: Use a circular saw, jigsaw, oscillating tool, or handsaw, depending on access. Support the piece to reduce splintering.
- Aluminum: Use a blade designed for cutting aluminum or a fine-tooth hacksaw. Clamp the threshold and protect the finished surface.
- Composite: Composite thresholds vary by product. Use the cutting method and blade specified by the manufacturer, and support the piece to reduce chipping.
- Vinyl inserts and seals: A sharp utility knife or fine-tooth saw may be enough. Cut a test piece first because old vinyl can become brittle.
Wear eye protection. Metal chips and broken seal material can travel farther than expected.
Inspect the Opening Before Installing Anything
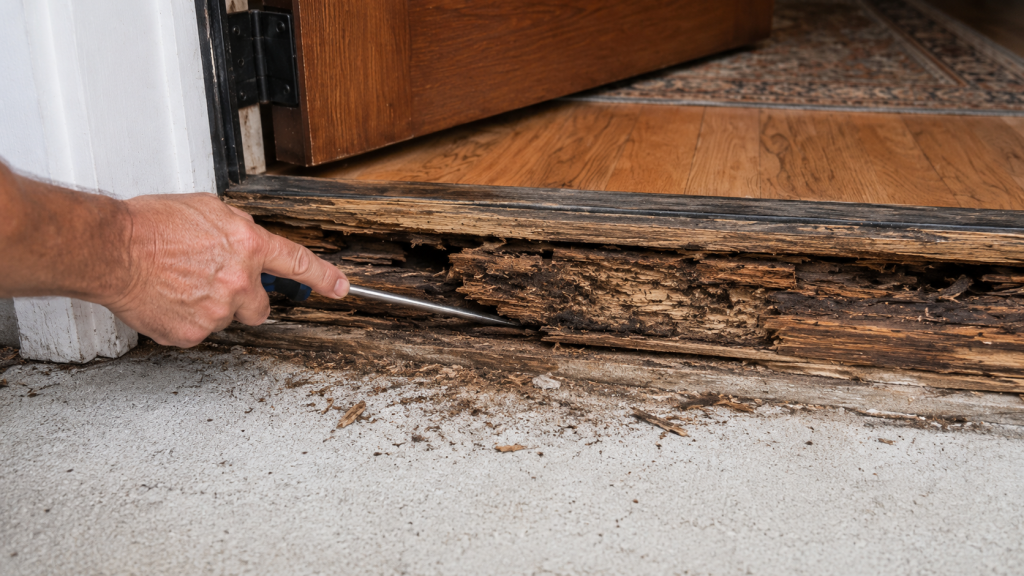
Once the old threshold is out, vacuum the area and scrape away old sealant, loose wood fibers, dirt, and adhesive. Probe suspicious wood with a screwdriver or awl. Sound wood resists pressure, while rotten wood feels soft, flakes away, or allows the tool to sink beneath the surface.
Check:
- Both jamb bottoms
- The subfloor immediately inside the door
- The subsill beneath the threshold
- The rim or floor framing if visible
- The exterior edge of the opening
- Fastener holes
- Water stains
- Insect tunnels or activity
- Voids beneath the sill location
- The condition of any visible sill pan
- The slope and height of the exterior landing
Water does not always show up where it entered. It can run down a jamb, pass through a failed trim joint, or collect against the doorway because the porch, patio, or landing slopes toward the house. High exterior surfaces, repeated splashback, and limited overhead protection can also keep the sill wet. Follow the stains and damaged wood backward before sealing anything. Another bead of caulk will not replace torn flashing or flashing you cannot reach beneath the frame.
Stop and Call a Professional When:
- Soft material continues beneath the finished floor
- Fasteners no longer hold in the jamb or subsill
- The jamb bottoms no longer support the frame
- The subfloor has lost noticeable thickness or strength
- Damage reaches the rim board, floor joists, or other framing
- Active termites or other wood-destroying insects are present
- The opening moves or changes shape as damaged material is removed
- The door frame is badly out of square
- The exterior landing directs water into the opening and requires reconstruction
- The integrated sill cannot be removed without destabilizing the frame
Once the rot affects what holds up the door or gives the screws something solid to grab, this is no longer a simple threshold job.
If the damage is limited and the remaining material is sound, prepare the opening before fitting the new sill.
Repair and Support the Surface Underneath
An exterior threshold needs a solid, continuously supported base and the sealant or sill-pan detail required by the specific door system. Sealant closes joints. It does not replace missing support.
- Wood-framed floor: Remove damaged material only until you reach sound wood. Fit the repair tightly and fasten it into solid framing.
- Concrete slab: Remove loose mortar, adhesive, and debris. Repair significant voids with a product intended for the slab and sill system. A thick bed of ordinary caulk is not a leveling compound.
- Final support check: The surface must be clean, solid, and shaped so the replacement sits without rocking.
Installing a Replacement Door Threshold
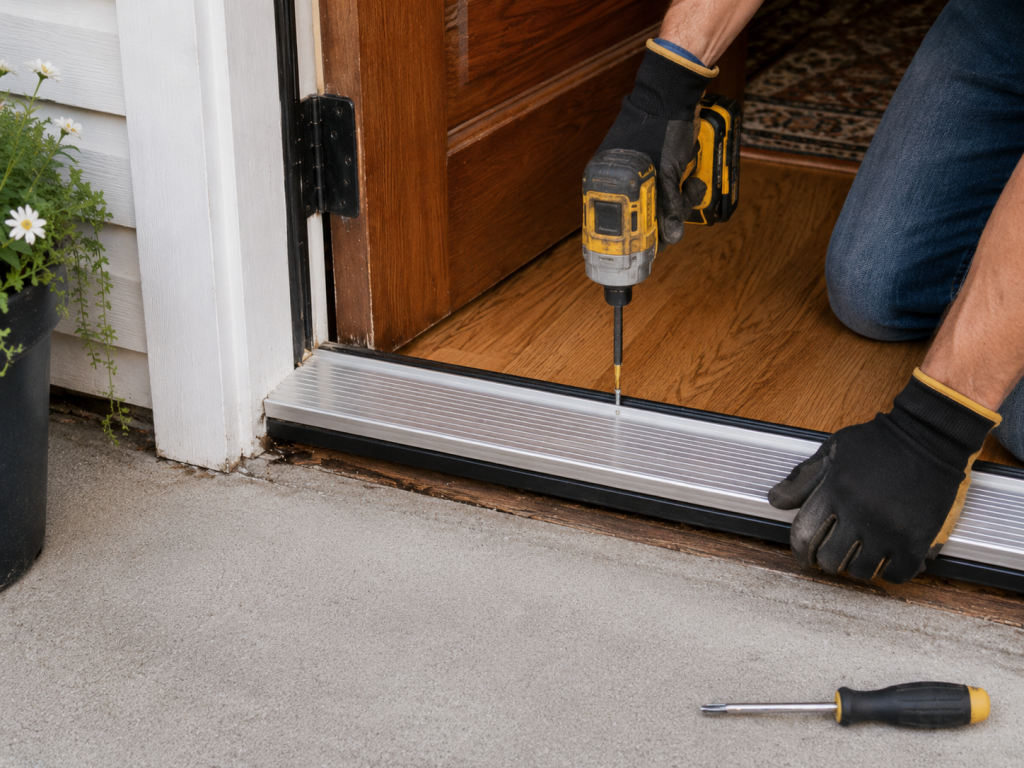
Before installing a replacement door threshold permanently, make sure the opening is sound.
- Make a template. Use the old threshold, cardboard, or thin hardboard to copy the jamb profiles and end cuts.
- Trim the replacement gradually. Cut slightly outside your marks, test the fit, and remove small amounts until it slides into position without spreading the jambs.
- Check the complete fit. Confirm that the interior edge meets the flooring, the sill is supported where the manufacturer requires, and both ends can be sealed.
- Close and latch the door. Check the height and sweep contact before applying sealant.
- Repair accessible flashing when the original detail is clear. Restore it when you can clearly see how it was built and can do so without disturbing the frame. If the sill pan is damaged or disappears beneath the jambs, the door unit may need to come out.
- Clean the opening. Remove dust and loose debris that could weaken the sealant bond.
- Apply compatible sealant. Follow the sill instructions and keep drainage channels or weep paths open.
- Set the threshold in place. Lower it straight down when possible so the sealant remains beneath it.
- Check the support. Press along the full length. The threshold should not rock, bounce, or flex.
- Fasten the threshold to the base beneath it.
- Wood base: Use the specified corrosion-resistant screws and drive them into sound wood without pulling the sill out of shape.
- Concrete slab: Drill the required pilot holes, remove the dust, and install the specified masonry anchors without overtightening them.
- Seal the required end joints. Pay close attention to the jamb-to-sill corners.
- Reinstall the sweep and make an initial cap adjustment. Make small changes and keep the contact even.
- Test the completed installation. Open, close, and latch the door several times before the sealant cures. Remove excess sealant without pulling material from beneath the sill.
Follow the sealant manufacturer’s curing instructions before exposing the doorway to water or heavy traffic.
Adjust the Threshold Without Creating Door Drag
An adjustable cap should make light, even contact with the door bottom. It should not be raised until the door becomes hard to close.
- Check the contact: Place a sheet of paper between the sweep and threshold, close the door, and pull the paper. You should feel a little drag.
- Raise low areas gradually: If the paper slips out with no resistance, raise that area slightly. When one end needs much more adjustment than the other, check the door alignment.
- Lower areas that are too tight: If the paper is difficult to pull out, or the sweep folds, rolls, or drags, the cap is probably too high.
Why the Door Still Leaks or Drags
A door threshold replacement can look neat and still fail to solve the original problem. Return to the diagnosis before adding more caulk.
| Problem After Installation | Likely Cause | What to Check |
|---|---|---|
| Door drags across the full width | Threshold or cap too high | Lower the cap or verify the installed sill height |
| Door drags only at the latch corner | Door sag | Top hinge and door reveal |
| Daylight remains in one area | Uneven sweep contact | Sweep condition, cap height, or warped door |
| Water appears at jamb corners | Failed corner seals | Jamb-to-sill joints, trim, and flashing |
| Water returns under the sill | Incomplete subsill seal or water entering elsewhere | Sill pan, sealant pattern, jambs, and exterior drainage |
| Threshold moves underfoot | Poor support or loose fasteners | Subsill, slab voids, and fastener condition |
| Latch no longer lines up | Sill too high or frame shifted | Threshold height, hinges, and jamb alignment |
| Adjustable cap will not move | Stripped screws, corrosion, or debris | Cap assembly and replacement parts |
| Sweep tears quickly | Cap too high or wrong profile | Adjustment and component compatibility |
Four Mistakes That Cause Most Problems
Most failed repairs can be traced to four decisions made before or during installation.
- Buying by visible width alone: Height, depth, full sill length, door swing, profile, and sweep contact also control the fit.
- Covering damaged material: A new threshold cannot restore lost support or give fasteners sound material to hold.
- Skipping the complete dry fit: Check the door movement, latch, sweep contact, end joints, and exterior support before applying sealant.
- Using caulk or adjustment to hide another problem: Sealant will not repair missing support, and a raised cap will not correct hinge sag.
Even careful installation cannot save a badly damaged frame or an obsolete sill system.
When the Complete Door Unit Makes More Sense
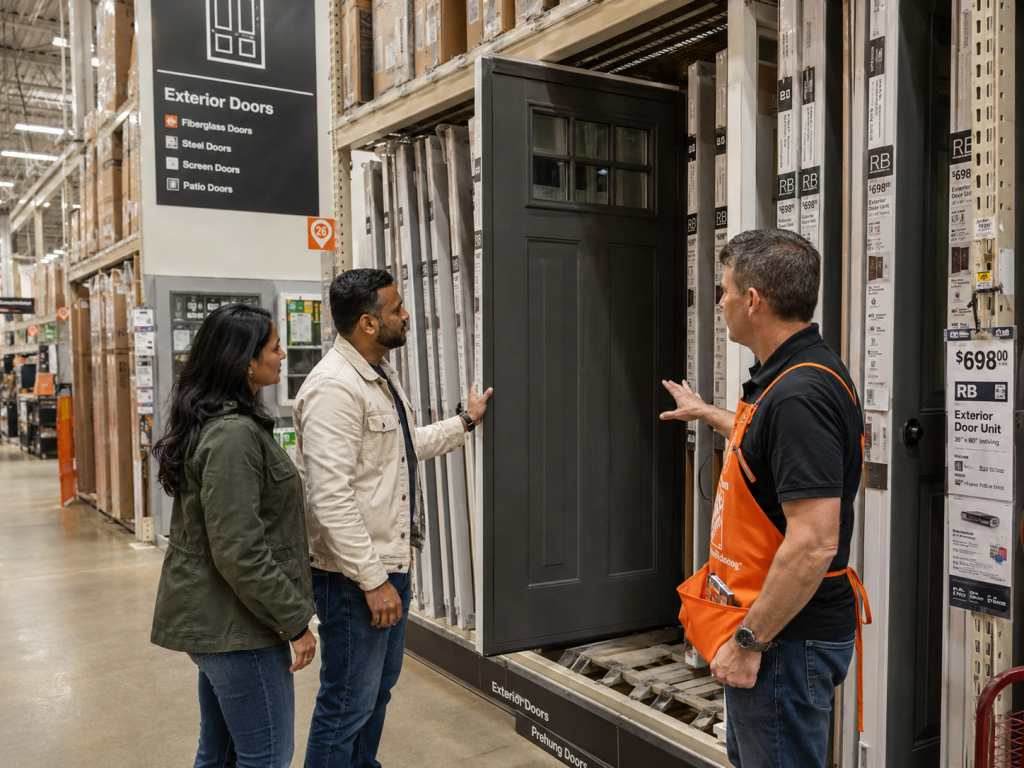
Replacing the complete unit may be the better repair when the sill is permanently integrated into the frame, no compatible replacement is available, or the surrounding door assembly is already badly damaged.
A full replacement also deserves consideration when:
- Both jamb bottoms are badly rotted
- The frame is badly out of square
- The door slab is warped or damaged
- The subfloor or framing requires extensive repair
- The existing components are obsolete
- Repeated repairs have failed to stop water
- The exterior landing continues to direct water toward the opening
- Removing the sill would destroy the lower jamb connections
Trying to rebuild an old frame around parts that do not quite fit can take longer than replacing the door unit and still leave you with a questionable repair. The job is not finished simply because the new threshold fits. A good door threshold replacement also corrects whatever damaged the old one.